
The My Life in Yarn series is a collection of posts that take a look at my personal journey in the fiber crafting world. In January, I shared how I started on this creative path. For February, I’m sharing a quick look at my pattern writing process and workflow. How does a spark of an idea turn into a pattern on my website?
You can find all the My Life in Yarn posts listed in this post and read them all from the beginning!
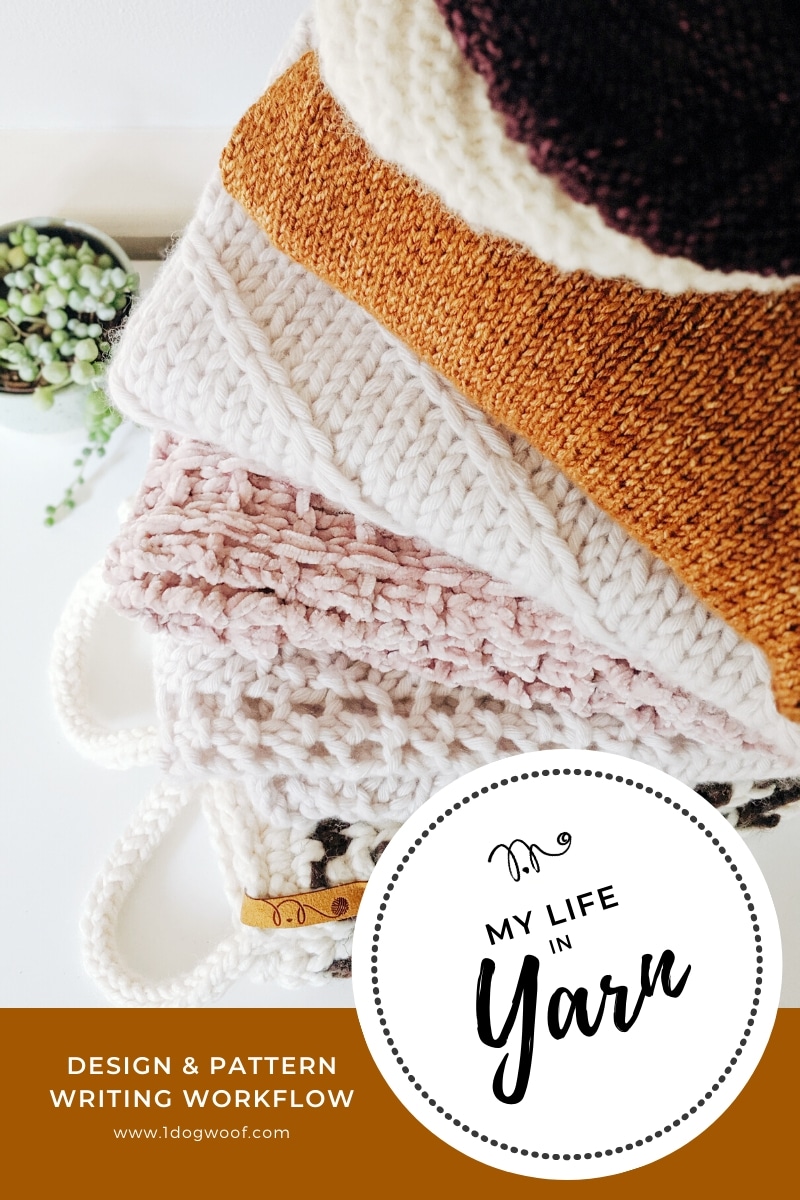
Click Here to Pin it For Later!
February: My Design and Pattern Writing Workflow
I’m always interested in seeing how others work to see if there’s anything in my own workflow that I can streamline. I think it’s also important to see how others work to understand all the details that goes into something beautiful. It really helps me appreciate the artistry that makers produce! There’s so much involved in every step, I’m not able to get into it all, but if there’s anything you’re interested in specifically, make sure to drop your question in this survey for me to see, and possibly discuss more in a future post!
The Inspiration
I get ideas from anywhere and everywhere. It can be something that’s missing from my own wardrobe, something I see in a store, something I see someone wear out on the street, or something I see online. Because I like working making things that are both beautiful and functional, a design idea has to really tick all the boxes for me before it gets on my internal list of possible things to make. If I can’t see myself wearing it, using it, or gifting it, then is it really worth my time?
When I do see something that catches my eye, I try to pinpoint what feature(s) intrigues me. Focusing on a particular feature means there’s less chance that I’ll end up copying a design completely, because I’ll be using that one feature to build my vision. I ask myself a bunch of questions to test if what inspires me is enough for me to create an entire design.
Questions I Ask Myself to Take a Spark to a Design:
- What do I like about something I see?
- Is it something I want in my life?
- Will I use it? Every day? Will I REALLY use it?
- Can I create it in crochet or knit? Which one would be better? If it has ribbing, does it automatically mean I have to knit it, or is there something else that forces it to be crochet, or vice versa?
- As unique as a design element might be, would I wear it? I love animal prints online, but it’s not my personal aesthetic.
- Is it low effort or high effort?
- How long would it take me to finish something like this?
- Will it use a ton of yarn or be super expensive to make? Is it marketable? Will my audience love it?
- Is the potential marketability worth the effort I’ll put in?
- Will I learn something from this process?
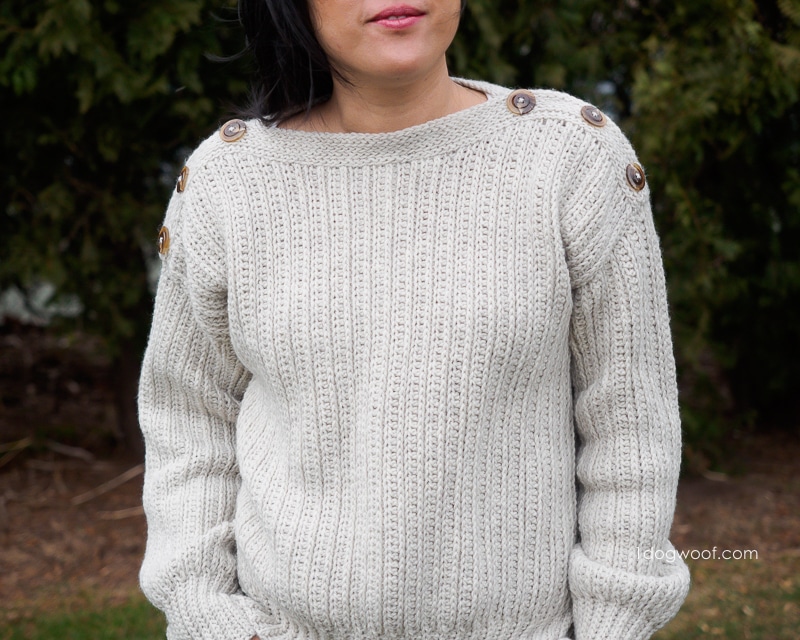
For the High Line Sweater, it was the shoulder detail that caught my eye on a commercial sweater. I knew I could make that kind of detail in crochet slip stitches, but I wanted really deep and cozy ribbing. I prefer knit ribbing, but I wasn’t sure I could make the shoulder look in knit. When faced with 2 opposing ideas, I went with what I thought would be easier, instead of fighting a design. One step after the other, all from one small shoulder detail. Other times, it’s a deep cowl or ribbing, a color combination or a unique shape that inspires me. Sometimes, it’s a problem with my own wardrobe I want to fix!
Once I have a general idea, I turn to my stack of notebooks to help me remember the spark. This is a list of tools I use for doodling and planning:
- Google Keep: This app is available for free on my phone and it syncs with my laptop, so I can access my notes everywhere I go. It’s perfect for on-the-go ideas, to-do lists, and whenever I don’t have a pencil handy.
- Agendio planner: This is my planning bible. It’s fully customizable, so I made it to work specifically for my workflow. My planner has a weekly page, a checklist for each week, and lots of dot grid blank pages for keeping track of ideas and deadlines.
- Bison Bookbinding notebook: Each page of this notebook alternates between a blank sheet and a gridded sheet. It’s where I dive into charts, math, schematics, and pattern details.
- Blank notebook: I got a blank page notebook for Christmas, and am currently using it to doodle, to draw, and write patterns as I run out of room in my Bison notebook.
- Pantone Fashion Sketchpad: This notebook is solely for garment design. It has lightly outlined models in it so I can draw my garment designs over the models and play with how I think a garment will drape. I can’t draw people, so having a model pre-drawn for me is a lifesaver!
The Balancing Game
So now I have these ideas, and lots of restrictions – budget, collaboration with different companies, deadlines, yarn usage, time, and my own color preferences. It sounds difficult, but I find that having restrictions actually help fuel my creative thinking and force me to experiment outside the box.
When it comes to balancing all the different restrictions, I ask myself another set of questions. Sometimes I’ll start with deadlines and seasonality, then choose yarns and design features. What’s cozy for winter is not appropriate for summer. Depending on when a pattern might publish, these elements will affect its marketability.
Other times, I pick the yarn first and come up with something to fit the weight and color. These projects are usually for a commission where I am asked to use a particular yarn. Or there’s a new yarn that I want to try out. The weight of the yarn can lead to specific projects, and especially for commissions, the yardage used for a project might be a limiting factor. I may also swatch the yarn with a few different hook/needle sizes to check potential drape and feel of the yarn against the skin. For amigurumi, I check that my swatch and hold stuffing without leaking, pilling or anything else that might make a toy unsafe.
Balancing all these different elements is the best kind of puzzle. When it works, it feels like a bolt of lightning, and then the start of the project is such an exhilarating experience! There’s no magic here. Believe it or not, I like to sleep on my cache of ideas for a while, building the vision in my head as I drift off to sleep. Don’t you think sometimes, that’s when you get your most brilliant insights?
The Doing of the Thing
Now that I know what I want to do, it’s time to get down to the nitty gritty.
First, swatching for gauge helps me figure out how many stitches I should start with. It also helps me calculate how much yardage I’ll need, in case I’m on a yarn restriction. For some projects, a rough estimate of the size and yardage is enough for me to start. For others, I like to start writing the pattern itself before starting. That way, I can make sure the math all works out before I knit or crochet a single stitch. This helps prevent all that frogging and anguish later on.
Then comes the planning. When I publish a pattern, I may need progress photos, photo tutorials, video tutorials, sneak peeks, and they may have size and resolution requirements. Planning now means I don’t have to re-do a project later to get a video tutorial. Projects with 2 instances of the same piece make the planning a bit easier. For example, I can experiment with the first sleeve of a sweater, and then record the second sleeve for a tutorial. But if I’m making a single item, I have to plan for all the content assets I need and get it right the first time.
The Process of Publishing
Oh, the process of birthing a design out into the world. There’s so much involved here, it can be a whole post all by itself! There’s pattern writing itself. Then comes tech editing/pattern testing, and a photoshoot. After that, it’s editing the photos, creating social media images with and without watermarks, editing videos, writing the blog post, checking for SEO and marketability, finalizing the PDF, spinning up all the social media marketing, and then finally, sharing it with the world. Whew!
The Pattern: The most important thing to remember when publishing your work is to see it from an outsider’s point of view. You have made this project, and you need to explain it to someone who doesn’t live in your head. Will they be able to replicate what you did with just the instructions you provide them? Make sure you provide all the necessary info – gauge, yardage, sizing, tips, tricks, photos. My own pattern writing has evolved over the years as I’ve learned more and more. Some of my earlier patterns don’t have everything I put into my current patterns. It’s another thing on my to-do list to update!
Tech editing and pattern testing: If you have the time, I do recommend getting another set of eyes on your pattern to check for mistakes and clarity. Some people like using a tech editor to help grade their garments, and others use a group of pattern testers to help find errors. I find a tech editor works faster for shorter deadlines, but having a pattern tested by a group of crocheters/knitters means you have some marketing already built in! If you are thinking about getting a pattern tested, or testing others’ patterns, take a look at some things you might want to take into account.
The Photos: Whether you take your photos yourself with a self-timer and a remote, or you pay a photographer to take them, do it well! Photos are everything when it comes to selling and sharing your work. With the popularity of Instagram, you want to capture someone’s attention with bright, clear photos that show off your work in the best possible light, literally. Make sure you have lots of bright white light – natural light is best, but you can make do with indoor light as well. Keep your subject front and center; you want eyes to focus immediately on your subject.
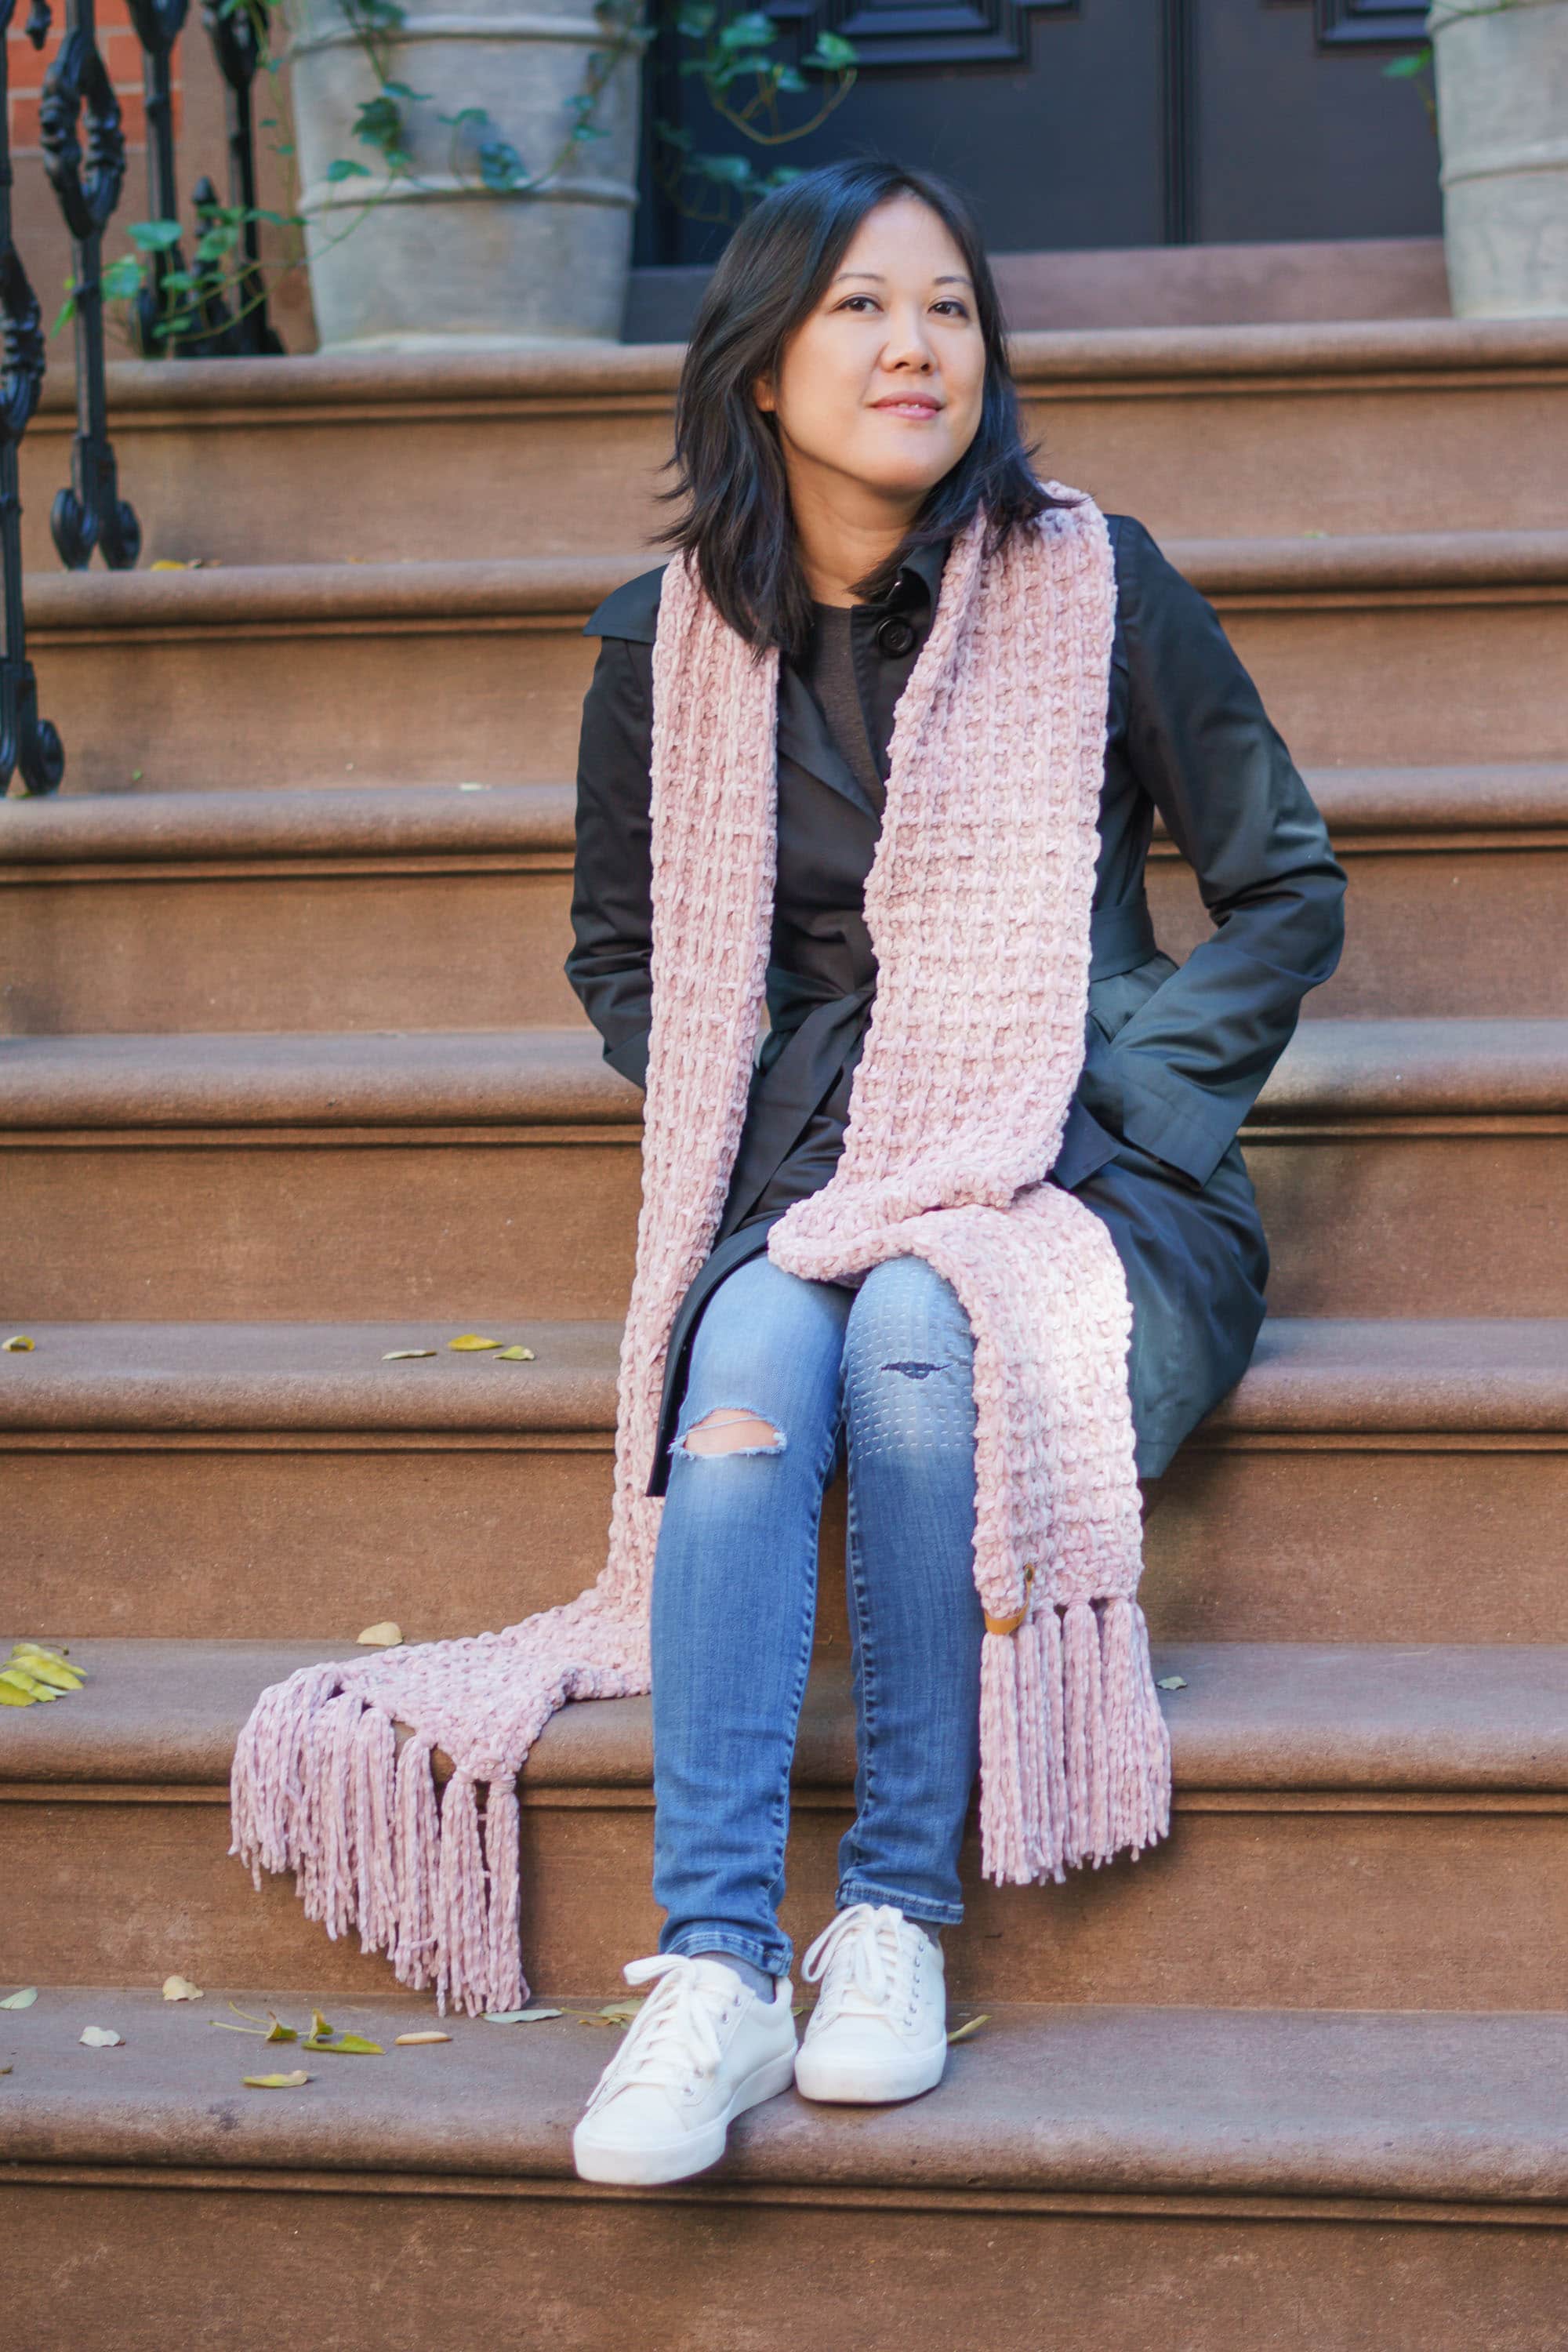
Each step of the publishing process takes so much time too! To give a quick idea of this process, my 2019 Fall Collection photoshoot had 4 pieces (the Cider Shawl, the Astoria Beret, the Spiral Twist Cowl, and the Snowbird Waffle Scarf). After a 2 hour photoshoot with a friend, I had 1200 photos to review. It took me 3 days of editing to narrow down the photos to ones I want to use.
Onto the Website: The rest of the publishing process can take me anywhere from a day to a week. It depends on my availability to work, and how much information I have to include in the post. There’s social media images to export, the pattern to write, a story to tell, links to add, and all the other little things that makes an article interesting to read. I also create downloadable and printable PDFs of many of my patterns so readers can work offline. These PDFs have their own formatting, and take a good chunk of time to get just right.
Marketing: I’ll fully admit this is not my strong point. But it’s the most important piece besides the work itself! If you make a project that you want others to see, but no one sees it, it feels so disappointing. There’s so much to marketing a product that most companies have entire teams dedicated to it. But for most makers, our marketing teams consists of me, myself, and I. There’s Instagram, and Facebook and Pinterest. There’s also third party sites like Craftgawker, Ravelry and All Free Crochet. Getting onto site like Apartment Therapy or Buzzfeed can boost your project’s visibility. Marketing work is ongoing and never-ending.
All of this time does not include the time spent actually making the project!
Even though the marketing for a design is ongoing, I always heave a huge sigh of relief as the final assets get published and another design is checked off. And then, on to the next design!


Thank you very much for sharing this information. Like posts on your site. If you have time, keep updating, it’s very helpful.