
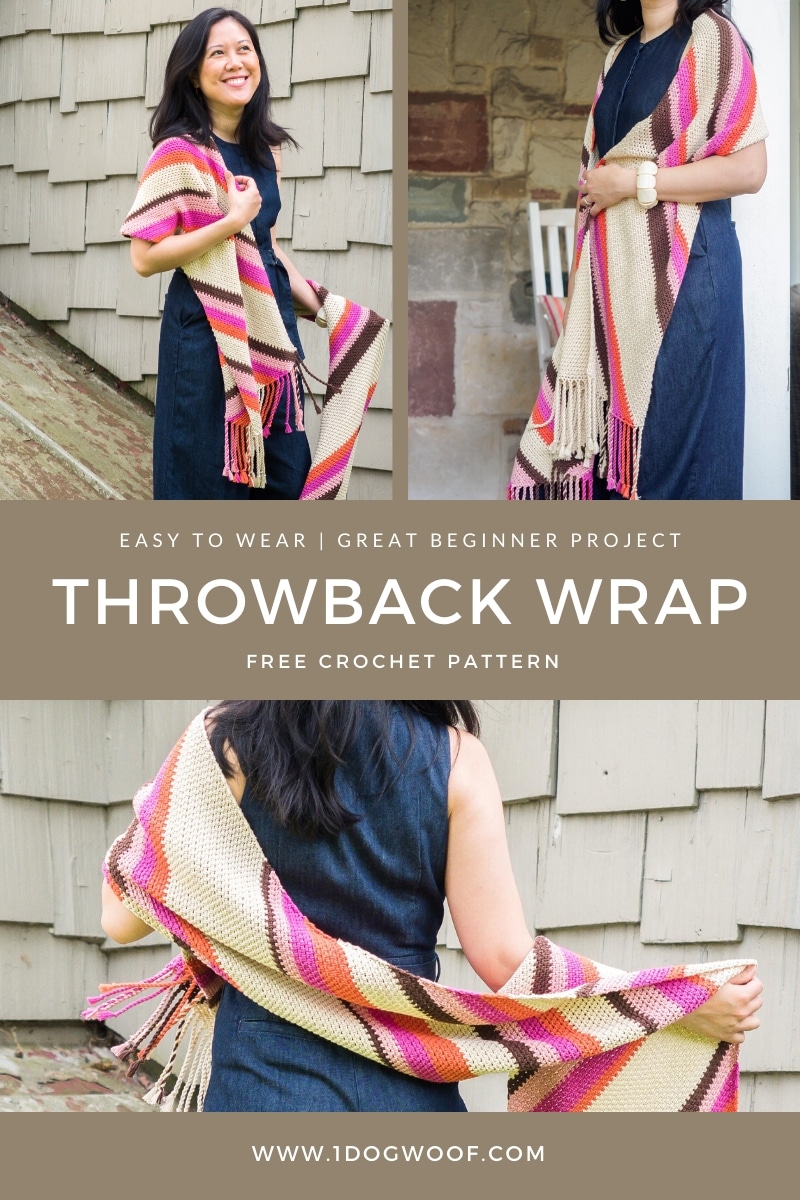
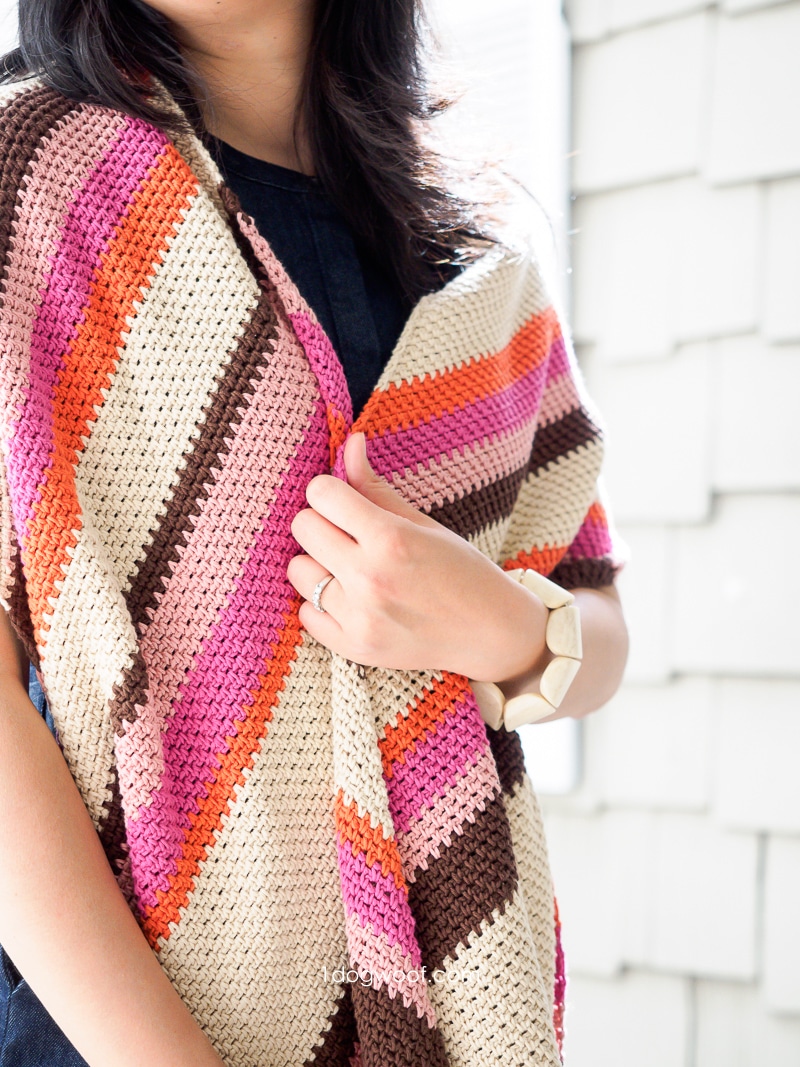
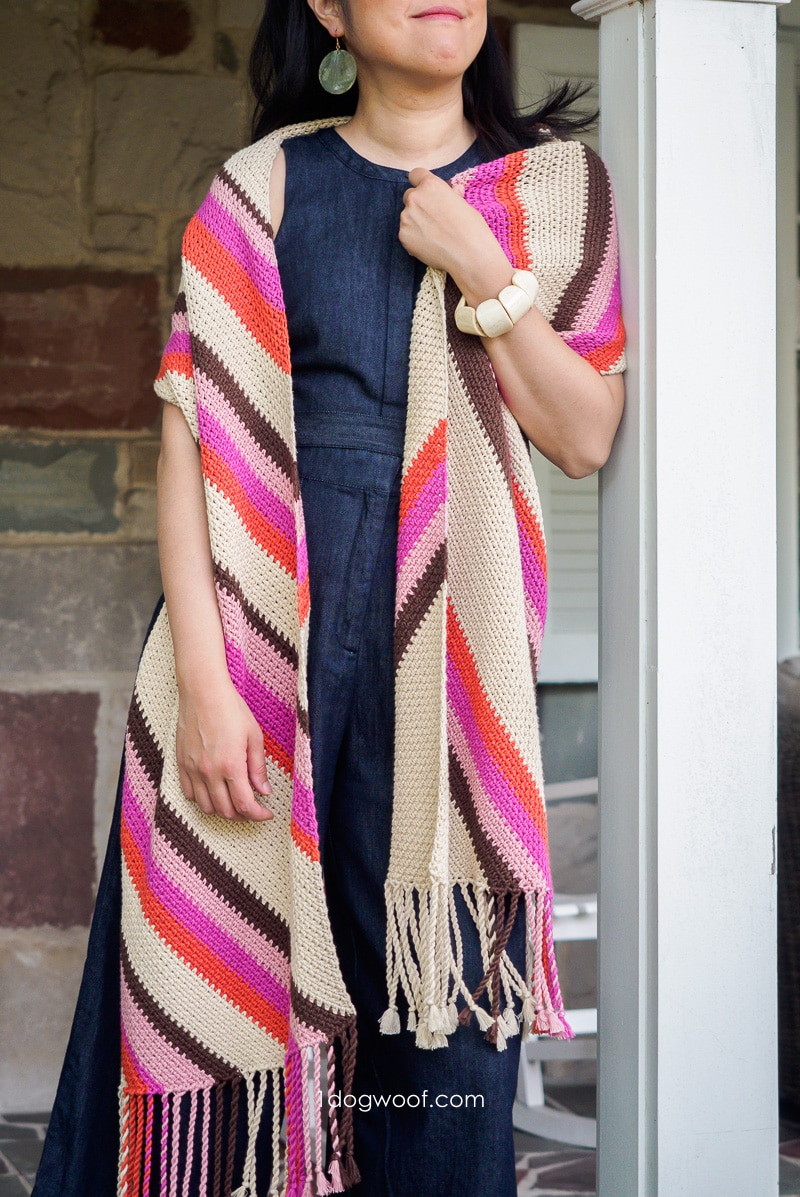
The Throwback Wrap, a retro vibes inspired crochet shawl free pattern, brings together a collection of vibrant jewel tones in one stunning piece. This easy, beginner-friendly crochet wrap features a bias construction, modern colorful stripes, and playful twisted fringe. Made with Lion Brand Cotton Bamboo, the wrap shawl is cool and light, but with enough substance to carry into fall and even moderate winter use, making it a truly year-round accessory.
Click Here to Pin it For Later!
——————————————
Add this project to your Ravelry queue
Buy the crochet kit from Lion Brand Yarn
——————————————
How Projects Are Born
It’s strange how projects get their start. Sometimes, having more restrictions produces creativity in a way having unlimited possibilities never can. Having a single skein of every color in a yarn series seems practical for a shop, but less useful for a designer at home hoping to use from her stash before buying more yarn. On the surface, it feels limiting, especially when not all the colors pair well together.
Restricting yourself to a single skein of each color forces you to look at color differently. Instead of imagining each color individually or as a whole group, you can look at them in pairs, in triplets, in subgroups, and beauty emerges. Maybe the entire collection isn’t wholly cohesive, but there are surprising combinations hidden away.
I’ve had single skeins of Lion Brand Cotton Bamboo for years without giving them much thought. Only now, during quarantine when I am challenging myself to work through my yarn stash, do I see the groovy, retro vibe of certain colors together.
Cotton Bamboo is a exactly what its name describes – a cotton and bamboo mix that is cool and soft, with a slight sheen. The colors, while limited, are muted but rich in saturation. Worked up, the yarn does not split too easily, and has the most gorgeous drape, with just enough weight to feel substantial but not heavy.
Working with the Linen Stitch
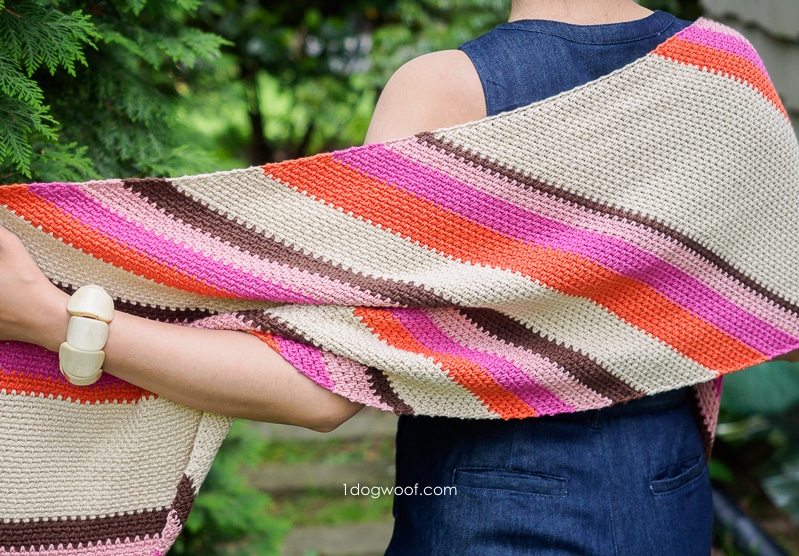
The Throwback Wrap uses the linen stitch on a bias. This stitch is also known as the crochet mesh stitch, or granite stitch, and is often said to be the equivalent of the knit seed stitch. It is a combination of single crochet and chain stitches, worked alternately, to create a light, open texture that is not quite solid and not quite mesh.
For some reason, I have always had a mental block regarding linen stitch. Maybe it’s the difficulty of maintaining gauge – crocheters often work chain stitches tighter than single crochet stitches. Or that the math doesn’t seem completely symmetrical – “how do I end a row on a chain stitch?”. If you’ve wondered about the linen stitch, the Throwback Wrap is a great intro to see how it works.

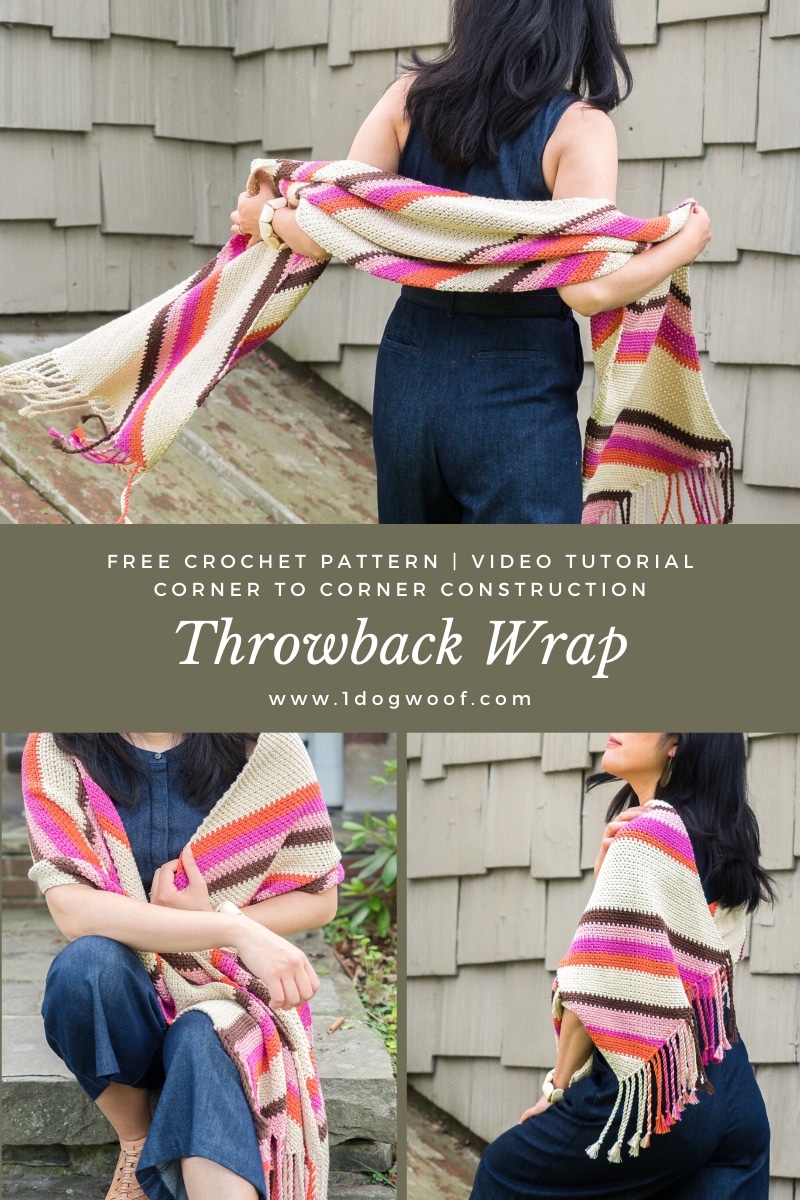
A Corner to Corner Project
This crochet wrap pattern is a corner to corner project, in that it is worked on the bias from one corner to the far corner. It isn’t a grid-based corner to corner project like my Zoodiac blanket, but the construction concepts are similar.
There are 3 main parts when working stitches from corner to corner – the increase, the even length, and the decrease. A square project only has an increase and decrease, but a rectangular project will use all 3 sections.
First, in the increase section, you’ll increase the number of stitches on both ends of a row. In this way, the stitch count normally increases by 2.
Second, in the even section, the stitch count in every row remains even. You do this by increasing on one end of the row, and decreasing on the other end. When you turn, you need to make sure the increases are worked on the same end as previous increases, and decreases are worked on the same end of the row as previous decreases.
And lastly, in the decrease section, you’ll decrease the number of stitches on both ends of the row, and thus reducing the stitch count by 2 in each row.
In the Throwback Wrap crochet shawl, you’ll start with a single stitch, increase to 3 stitches, and from there on, always work an odd number of stitches. If you ever count an even number of stitches in a row, you know you made a mistake. When closing up the wrap, you’ll decrease the number of stitches back down to 3, and then to 1 before binding off.
To Twist or Not to Twist
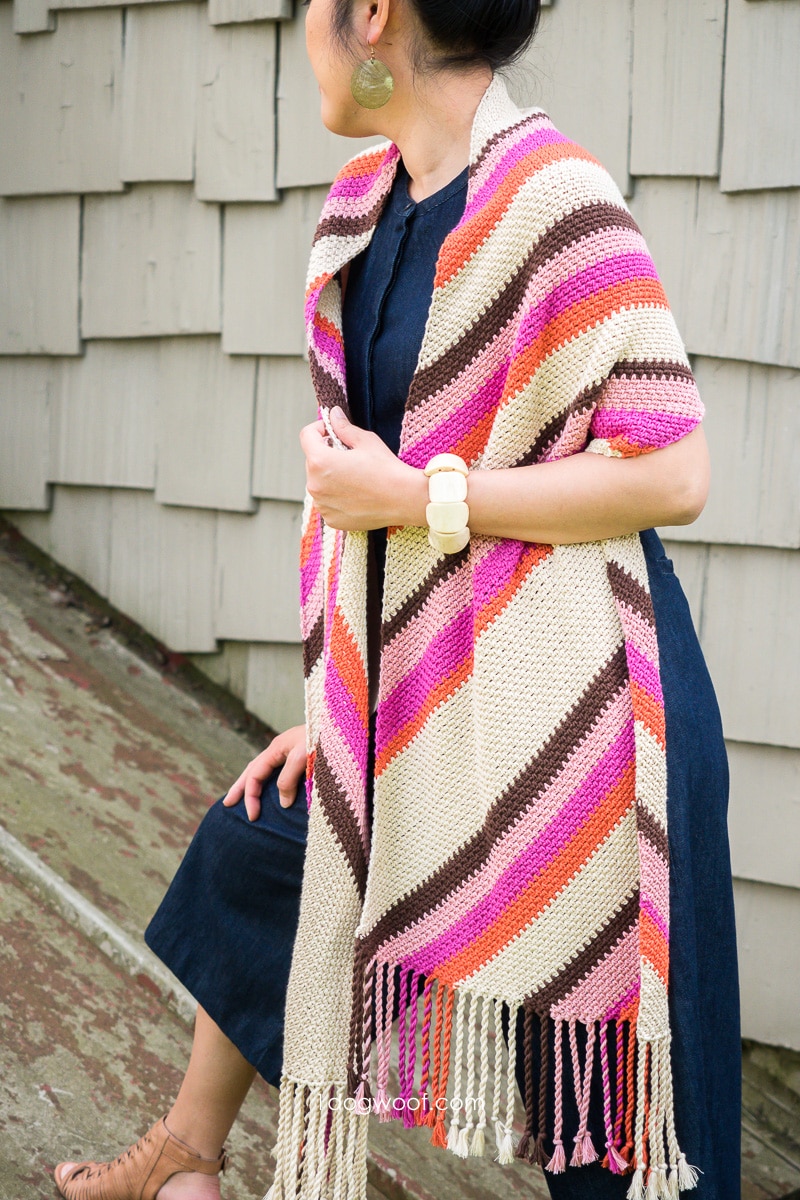
The Throwback Wrap uses a twisted fringe that extends the colors in the wrap and highlights color changes. It keeps the fringe light and playful without taking away from the wrap itself. You can always choose to simply leave the fringe as-is or brush it out for a fuller look. If you choose to leave the fringe brushed out, be careful that its fullness does not overwhelm the crochet wrap itself.
Get the Throwback Wrap Pattern
Continue scrolling down for the crochet shawl free pattern, or head to Ravelry to purchase a downloadable and printable PDF. The digital PDF is formatted for easy reading and is perfect for offline use.
You can also grab the Throwback Wrap Crochet Kit from Lion Brand, which includes all the Cotton Bamboo you need as well as the pattern in a digital format.
Throwback Wrap Crochet Shawl Free Pattern
Supplies
- 7 skeins of Lion Brand Cotton Bamboo (3.5oz/100g, 245yds/224m)
- (3) Magnolia, (1) each of Hibiscus, Persimmon, Cherry Blossom, Chocolate Dahlia
- H/5.00mm crochet hook
- Scissors
- Tapestry needle
Gauge
Approximately 24 sts, 21 rows in 4″/10cm
Finished Size
Approximately 15”/38cm wide and 76”/193cm long
Abbreviations
- st(s) – stitch(es)
- ch – chain stitch
- sk – skip
- sc – single crochet
- inc – increase: work 2 single crochet in same stitch
- linen st – work sc into ch-1 sp, ch 1, sk 1 st.
- sc2tog – decrease: insert hook into st, yo, pull up a loop, insert hook into next st, yo, pull up a loop, yo, pull through all 3 loops on hook
Pattern and Construction Notes
- The Throwback Wrap uses the linen stitch, working on the bias from corner to corner.
- The linen stitch is also called the mesh stitch or granite stitch. It consists of alternating single crochet and chain stitches, with single crochet stitches worked into chain-1 spaces, and chains worked over single crochet stitches.
- When working on the bias, there are 3 main sections to the construction:
- Increasing both sides: working an increase on both ends of the row, thus adding 2 sts to the st count.
- Even: working an increase on one end of the row, and a decrease on the other end of the row, thus keeping the st count the same. This is a 2-row repeat, since you need to work all decreases on the same side, and increases on the same side.
- Decreasing both sides: decreasing on both ends of the row, thus subtracting 2 sts from the st count.
- Ch 1 at the beginning of each round does not count as stitch.
- Turn at the end of each row, unless otherwise noted.
Instructions for the Throwback Wrap
Increase on both sides.
Row 1: With MC, ch 3, work 3 sc in 1st ch. (3)
Row 2: Ch 1. Inc in 1st st, ch 1, sk next st, inc in last st. (5)
Row 3: Ch 1. Inc in 1st st, ch 1, sk next st, sc in ch-1 sp, ch 1, sk next st, inc in last st. (7)
Next row: Ch 1. Inc in 1st st, *ch 1, sk next st, sc in ch-1 sp, rep from * across until 2 sts remain, ch 1, sk next st, inc in last st.
Repeat row, increasing sts on both sides until the row has 79 sts.
Join C1 and repeat for 5 rows, increasing sts on both sides until the row has 89 sts.
Join C2 and repeat for 5 rows, increasing sts on both sides until the row has 99 sts.
Join C3 and repeat for 5 rows, increasing sts on both sides until the row has 109 sts.
Join C4 and repeat for 5 rows, increasing sts on both sides until the row has 119 sts.
Switch color back to MC, repeat for 3 rows, increasing sts on both sides until the row has 125 sts.
Increase on one side, decrease on the other side to keep st count the same.
Next row 1: Ch 1. Inc in 1st st, *ch 1, sk next st, sc in ch-1 sp, rep from * until 2 sts remain, sc2tog. (125)
Next row 2: Ch 1. Sk 1st st, sc in next 2 sts, *ch 1, sk next st, sc in ch-1 sp, rep from * until 2 sts remain, ch 1, sk next st, inc in last st. (125)
Work 2-row pattern repeat in the following color pattern. The number of stitches in each row remains the same.
MC: work 19 rows
C1: work 8 rows.
C2: work 4 rows.
C3: work 5 rows.
C4: work 3 rows.
MC: work for 11 rows.
C1: work 5 rows.
C2: work 5 rows.
C3: work 5 rows.
C4: work 5 rows.
MC: work for 31 rows.
C1: work 2 rows.
C2: work 4 rows.
C3: work 6 rows.
C4: work 8 rows.
MC: work for 11 rows.
C1: work 5 rows.
C2: work 5 rows.
C3: work 5 rows.
C4: work 5 rows.
MC: work for 11 rows.
C1: work 3 rows.
C2: work 7 rows.
C3: work 7 rows.
C4: work 3 rows.
MC: work for 22 rows.
Decrease on both sides.
Next row: Ch 1. Sk 1st st, sc in next 2 sts, *ch 1, sk next st, sc in ch-1 sp, rep from * across until 2 sts remain, sc2tog.
Repeat for 2 rows, decreasing sts on both sides until the row has 121 sts.
Join C1 and repeat for 5 rows, decreasing sts on both sides until the row has 111 sts.
Join C2 and repeat for 5 rows, decreasing sts on both sides until the row has 101 sts.
Join C3 and repeat for 5 rows, decreasing sts on both sides until the row has 91 sts.
Join C4 and repeat for 5 rows, decreasing sts on both sides until the row has 81 sts.
Switch color back to MC and repeat for 11 rows, decreasing sts on both sides until the row has 59 sts.
Join C1 and repeat for 4 rows, decreasing sts on both sides until the row has 51 sts.
Join C2 and repeat for 8 rows, decreasing sts on both sides until the row has 35 sts.
Join C3 and repeat for 2 rows, decreasing sts on both sides until the row has 31 sts.
Join C4 and repeat for 6 rows, decreasing sts on both sides until the row has 19 sts.
Switch color back to MC, decrease sts on both sides until the row has 5 sts left.
Next row: Ch 1, sk 1st st, sc in next 2 sts, sc2tog. (3)
Next row: Ch 1, sk 1st st, sc2tog. Do not turn. (1)
Fasten off, cut yarn and weave in ends.
Weave in all ends.
Tassels
Cut 2 strands of 16”/40.5cm long yarn for every row along short end of wrap in appropriate colors to match each row.
Holding 2 strands together, attach fringe to row end using a lark’s head knot. NOTE: Make sure there is an even number of fringe, adjusting number of fringe pieces as necessary.
Separate knotted fringe into pairs. For each pair, twist both fringe pieces individually to the right. Hold both twisted fringe pieces together and twist the pair to the left. Tie a knot to secure.
Trim all ends.
Optional: Fringe can also be left loose, or brushed out.


Hi! Your link to “lark’s head knot” lead me to a dynamic site of many subjects. I found the article on “cords” to be particularly helpful. Your use of this “mesh-st.”/ “Linen-st.”/ “granite-st.”, is very helpful. Both the yarn and the Drape it gives. And FINALLY a fringe I like! Thanks !
Oh! Just saw a snip-it of one of your “knitting” videos” about joining seams. I see a way where I can do a similar join with either crochet OR “tapestry / yarn” needle sewing. I am unable to knit. It hurts my left hand. [Even when a child.] Love crocheting. Your videos are very helpful.
I love it! Back when I was younger, I always want crochet shawls.
find trucks here
This is a very interesting document. Me and my friends have read them and find them really helpful. I will refer more about this article. Thanks. surviv io
Hello! Do you have a YouTube channel?
beardcareshop.com
Wow! good post. Keep it up. Your Linen Stitch Was best.
where is the video for this – the switch to 1 side decrease is confusing…
I have purchased your pattern and are having trouble with the decrease instructions and would like to see a video of several 2 row repeats so I know exactly what to do. I find the written instructions confusing. I do not see a link to the video in the pdf.
There is not a video tutorial to accompany this pattern. Video tutorials add days to the production of patterns and would make them more expensive so they aren’t a given for every pattern!
Videos are extremely time consuming so they are not given for every pattern!
Having trouble reaching the gauage. Using E size hook and still not reaching it. Anyone else having this trouble?
I purchased the kit from Lion Brand because it said this project was for beginners and came with instructions. Very disappointed to find that videos or illustrations were not included. I recommend not listing this as a beginner pattern.
Hi Jennifer, I believe Lion Brand classifies this as a beginner pattern because of the basic stitches and construction. All crochet kits and patterns require knowing how to follow written crochet instructions, only a few designers can afford to make video tutorials for all their patterns! There are a number of tutorials on YouTube that could help you with the stitches and how to read US crochet terminology.
I try to understand 2row decrease…maybe it’s a little bit of confusing. Could you better explain 1 side decrease?
For the 1 side decrease, you are either starting with a decrease (skipping the first stitch) and ending with an increase (2 sc in one st) or starting with an increase (2 sc in one st) and ending with a decrease (single crocheting 2 sts together). Hope that helps!